The handstand enthusiasts out there know there are infinite ways to vary how to perform a handstand. This is one of the reasons why such a simple skill can keep someone occupied for years.
One of the easiest ways to add variation is to change what you perform the handstand on. Every new surface or apparatus has its own adaptation that goes with it.
Here is a breakdown of some of the more common surfaces you will encounter, and what they mean for different levels of balance.
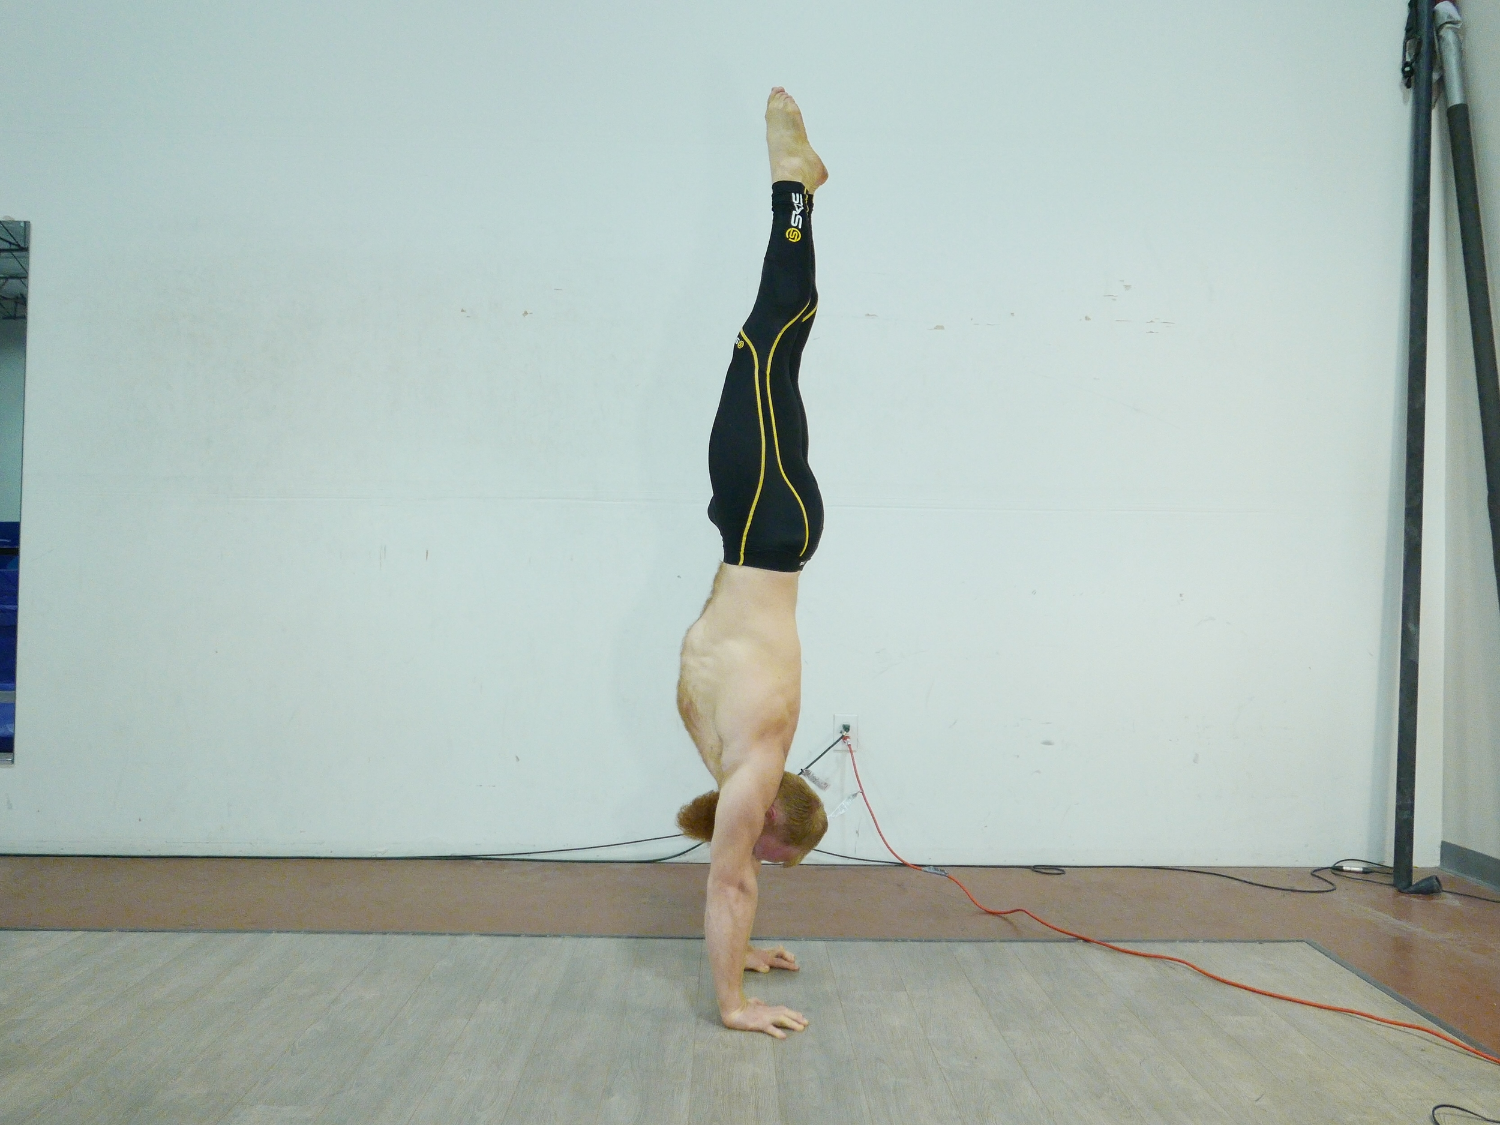
HARD FLOOR:
Hard floor is the most unforgiving surface, but in my opinion quite necessary to learn to understand the concept of balance corrections. Because the floor is unyielding, you must learn how to use your own body to correct the balance. Balance can be adjusted through the hands, elbows, shoulders, back, and hips(see my ebook for a breakdown on how balance works).
This is the first surface I like to expose beginners to because it's one that gives instant feedback. Practicing on the hard floor will teach practitioners exactly where to distribute weight about the hands, and how to progress their balance by using specific movements throughout the body.
-My personal preference is concrete or hard wood as it gives an even surface. Something like grass can be an option but usually has some softness and/or uneven spots making the connection to the floor more difficult to find.
TUMBLING MATS:
This is a surface that seems like it should be safer for beginners, but in fact it can hinder balance progress.
Yes, it's safer to fall on a matted floor. However, if you learned to bail out properly, the surface should make little difference.
The difference in a softer surface is in the weight distribution and balance corrections.
When I balance here my hands sink in slightly, so the weight is shifted further to the heels of the hand. To compensate, I need to apply more weight to the fingers and because of this I tend to grip the floor harder than I prefer.
In addition, when I make a balance correction through the hands, there is a dampening effect because the floor absorbs some of my movement. This means I cannot react as quickly to changes in my balance.
I think of it like trying to drive a car wearing ski boots and boxing gloves.
Personally, I would not recommend students practice on a soft floor until they previously understand how to balance on a hard floor.

"New article out today on my website. This one is about how to learn and teach skills(including handstand) differently depending on the level of the..."
PLYOMETRIC FLOORING:
This is something you will see in most modern gymnastics or cheer gyms. A plyo floor consists of vertical springs under sheets of plywood with foam mats on top. The purpose is to give athletes higher rebounds and better shock absorption in their tumbling.
Balancing on this kind of floor is similar to balance on a soft surface such as regular mats, but sometimes the springs can cause unexpected oscillations and vibrations. This further complicates the feedback you receive as well as the correction dampening you experience.
Again, I suggest learning on a hard floor first unless you are training as a competitive gymnast.

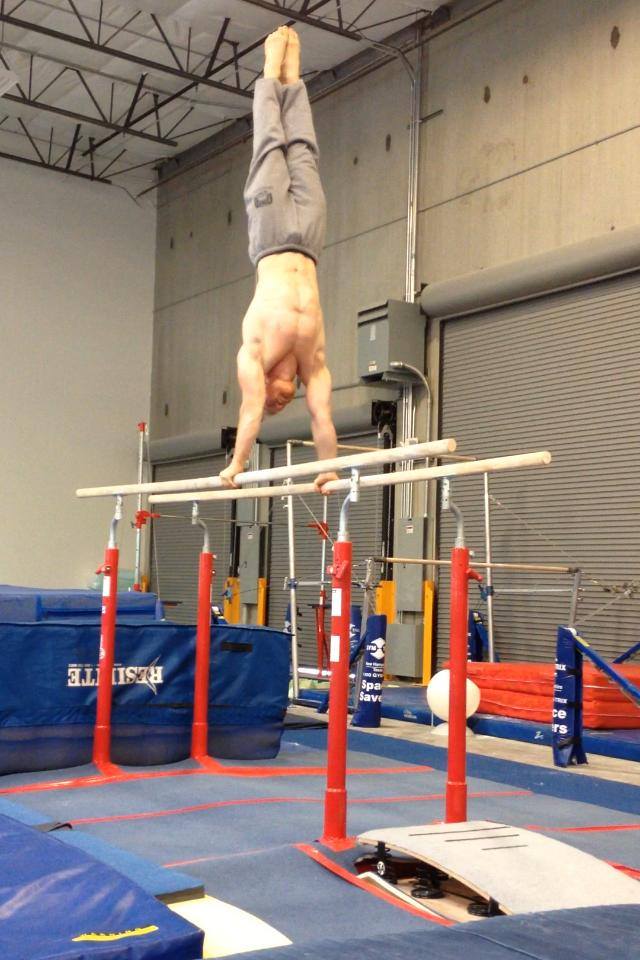
PARALLEL BARS:
Parallel bars are an event in men's artistic gymnastics. Many people find balance on the p-bars easier to that of floor. This is usually because the apparatus allows for a more comfortable grip It also lessens pressure on the wrist by allowing the hands to turn out with the wrist in a more neutral position compared to that of floor.
The height of competition p-bars can induce some fears in people,
so parallettes can also give the same benefits with an apparatus that's more portable and closer to the floor.
Balancing is done through radial and ulnar deviation of the wrist as opposed to palm versus fingers, so that's something to get used to.
GYMNASTICS RINGS:
The rings are an amazing and simple tool for upper body strength development. In modern times, the rings are getting more popular outside the world of men's artistic gymnastics.
The handstand on rings is a completely different beast compared to other surfaces.
-First off, the position is different. The handstand here is ideally performed in a slight external rotation(~10 degrees past parallel). This not only makes it a greater mobility challenge, but now also adds a new stress on the elbows unique to rings. It is helpful to already be proficient in a straight arm turned out rings support hold to acclimate the body to this stress.
-The unique difficulty of the rings lies in their instability. They move in all directions and independently of each other. The main balance correction on the rings is movement of the shoulders to move the rings underneath the center of mass. This can build tremendous shoulder strength, however balancing from the shoulder is not the best habit for a refined handstand on a more stable surface.
-It is highly recommended to already have a press to handstand and a solid rings support before attempting the handstand. When learning this skill, it's best to begin with the rings low(like a finger's length from the floor) and spend lots of time with the feet on the straps to acclimate.

"Day 2 messing around with handstand on rings at @liftperformancecentre where I will be teaching a seminar the first weekend in April. Still got it...."
BLOCKS:
Wooden blocks are very common among circus school hand balancing programs. Typically rectangular or square shaped(though some people use circular blocks), then can offer some benefits.
Blocks allow you to drape your fingers around the edge, giving your grip more contact with the apparatus compared to the floor. This can make it easier to find the balance and reduces stress on the wrists.
Be careful how hard you grip though, my first few experiences on blocks resulted in the tips of my fingers going numb for a couple days.
Incline blocks are also an option for equilibrists whose wrists are not happy working on the floor or want to better simulate hand to hand. My personal preference is a flat surface.
The blocks allow a large variety of exercises to help build towards a one arm handstand, which would be their main purpose.

"One of the most important concepts for a beginner learning to balance is how to properly engage the hands and fingers. What about learning how to relax..."

"Playing with a different variation on blocks, this one really tests your balance in a different way"
CANES:
Handstand canes are an apparatus specific to circus style hand balancing. They consist of blocks on the ends of vertical poles attached to a solid base. Canes have several purposes when it comes to hand balance:
-First of all, they give the performer a raised surface. This makes it easier for a larger audience to see what they're doing.
-The raised surface of the canes also allow for a more possibility of tricks that can be performed.
-Even though it looks harder, canes can actually make balance easier when someone knows how to use them. The sway in the poles allows the equilibrist to move the apparatus as an extension of their arm. This allows for considerably greater control in balance. Be careful though, balance on canes does not always transfer to floor and you don't want to get too accustomed to one particular technique.
-Because of the nature of the canes, the entry to handstand(and bailout as well) is more complex than on floor. Canes require either pressing or jumping up to handstand with precision. It's useful to have a spotter if you are not experienced with the apparatus.
-Quality matters. Not all canes are built the same. There can be a massive difference between some professional and homemade canes. Don't be too picky though, it's good to have the versatility to adapt to imperfect apparatus.

"I am excited to be returning to Europe this September Two workshops coming up: Dublin, September 19-20 https://www.facebook.com/events/1694435037455136/..."

"Svetchka at Santa Monica beach"
CHAIRS:
A chair is a common object to balance on, mainly because it's easily accessible and looks more interesting than a floor balance.
The typical chair handstand has one arm on the seat, and the other on the backrest. The weight can be evenly distributed on both arms. As for difficulty, the balance isn't really any harder than a floor handstand but the entry and exit need to be more precise. It's recommended to have a press beforehand, though kicking up is also acceptable.
Always make sure the object you are balancing on is sturdy. To add to that, be gentle when "mounting" said object. It's never fun to have something collapse under you.
If it's your first time trying this, it may not be a bad idea to have a spotter.

"Chair stand"
ON HANDS:
Performing a handstand on someone is a great way to completely challenge what you think you know about the skill. So many elements about the skill are different, from the grip to the way balance is maintained.
Hand to hand flying takes a lot of specialized practice to become proficient in, especially when it comes to working with different bases.
-Because of the different dynamic of the skill, a freestanding handstand on floor or canes is not required to fly hand to hand. In fact, many sports acro flyers learn to balance on their base first.
-Getting too used to being in control of your own balance can actually hinder your progress as a flyer.
-There is definitely a greater risk of injury here compared to solo handstands due to the height and increased number of variables. If it's your first time, make sure you learn form someone who has experience. Remember that safety should be the top priority.

ODD OBJECTS:
One way to really begin to challenge yourself is to try to perform a handstand on something that wasn't designed for it. Be creative here. The only limits are the ones you create. Here are a couple photos of odd object handstands I have done(beware, artistic partial nudity ahead).

"#tbt of a photo shoot I did a couple years ago on a statue. #handbalance #statue #art #sculpture #inversion #armbalance #calisthenics #circus"

"Handstand on a jack #handstand #fitness #calisthenics #circuslife #circus #inversion #armbalance #acrobatics"

"Longboard handstands #handstand #equilibre #armbalance #inversion #fitness #calisthenics #strength"

"Don't miss my upcoming workshops in Sacramento, Oakland, and San Francisco. They will be held at alternative fitness, The athletic playground, and Move-SF..."
CONCLUSION:
Basically, what it comes down to is versatility in variation. You will greatly improve your practice by exposing yourself to different challenges and variables that force you to be able to adapt your style and technique. Eventually, these adjustments can be made on the spot.
Each new surface or object has its own learning curve and will force you to do things differently.
Once again, I cannot stress enough the concept of safety first. If you can't yet hold a handstand consistently on floor, it may not be time to expand yet.
Make sure you always have an exit strategy if things fail. Get a spotter if you need it.
ALWAYS check your apparatus to make sure it's sturdy before inverting on it.
Other than that, go try something new.
Still working on learning how to control your freestanding handstand on the floor? Check out my ebook to help you understand and develop that process before moving on to other surfaces and apparatus.
The handstand is one of the most simple, yet one of the most humbling, skills in the span of the physical arts. It seems so simple, yet it can be an incredibly frustrating skill to learn. Because of this, many people think that handstands are reserved for gymnasts and circus performers. Let me say, though, that the handstand is accessible to anyone willing to put in the time.
A hand balance practice is incredibly beneficial for the body and mind. The amount of concentration required makes it a form of meditation. Physically, it is an incredible display of strength, body control and awareness. Balancing on your hands requires constantly making small adjustments within the body. There is no other art form that requires as much precision as the handstand.
This book breaks down the process to achieving a freestanding handstand for a beginner, starting from the very basics. This process is useful to those learning their first handstands as well as those who teach it, such as gymnastics coaches, CrossFit coaches and yoga instructors. The concepts detailed in this book are focused on learning the skill as an adult by promoting understanding of the art in order to make progress. It takes the mystery out of the skill, and presents it in a way anyone can learn.
In order to complement the material in this ebook, check out the associated Video exercise library: https://vimeo.com/ondemand/190235